我們在撰寫應用時,常為了APP或傳送內容的大小,壓縮資料成 zip 檔,但使用時,就要先行解壓才會有存取的效率。但 macOS 的程式庫中,似乎沒有內建完整的解壓程式庫,還好網路神人很多,有人分享了程式庫,並以 MIT 授權提供出來,讓我們看一下如何使用
首先分享 GitHub 網址 https://github.com/ZipArchive/ZipArchive
以下是使用方法
1. 引入程式庫有兩種方法:
a. 可以使用 cocoPods 引入 只要下指令 pod install SSZipArchive 就可以了,若你己習慣 cocoaPods ,這就再簡單不過了
b. 手動引入:
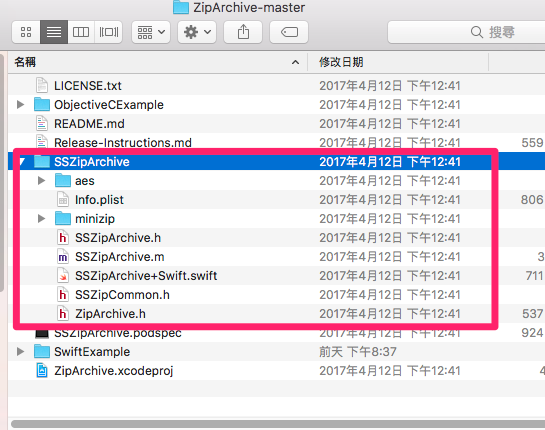
1. 先解壓由 GitHub 網址 https://github.com/ZipArchive/ZipArchive 下載的程式庫
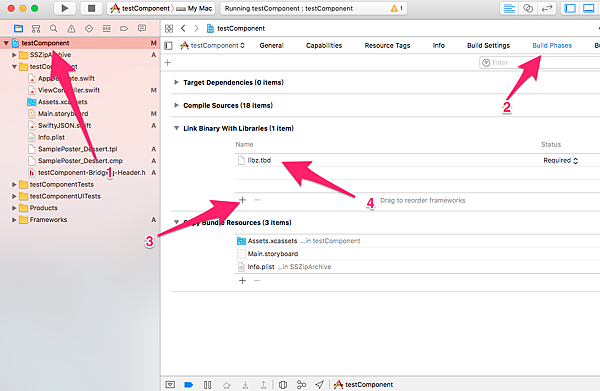
2. 將 SSZipArchive 目錄下的檔案,拉到你的 Xcode 專案中,要包括該目錄下的所有程式
3. 要在專案的 Build Phases -> LinkBinary With Libraries 加上 libz.tbd
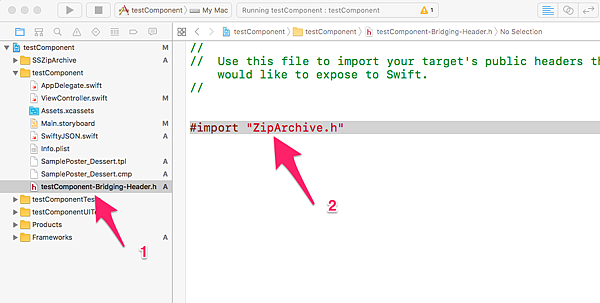
4. 若你使用 Swift (就像本文的情形)因為專案中有大多數是 Objective-C 寫的,所以要功能表中點選 [File]>[New]>[File]。然後選[iOS] (或是watchOS/tvOS/macOS)下的 [Source] 裡面的[Header File]自己產生一個標頭檔, 檔名必需是 [專案名稱]-Bridging-Header.h 像是我個專案叫 testComponent 檔名就要叫 testComponent-Bridging-Header.h 並在該檔上,加上
#import "ZipArchive.h"
接下來就是程式碼了
最簡單的語法就是
SSZipArchive.unzipFile(atPath: <#T##String#>, toDestination: <#T##String#>)
atPath 是檔名位置字串, toDestination 是目標資料匣位置字串,如在 macOS 的 "文件" 資料匣中,有一個 ZipArchive-master.zip 要解,就可以寫成
let source = NSHomeDirectory() + "/Documents/ZipArchive-master.zip"
let destination = NSHomeDirectory() + "/Documents/ZipArchive-master"
let unZipOK = SSZipArchive.unzipFile(atPath: source, toDestination: destination)
其中 SSZipArchive.unzipFile 會回傳一個成功或失敗的值
另外,SSZipArchive 也提供了解壓過程中的 Delegate 與密碼設置等參數,若有興趣可以再進一步研究它的其他解壓方法與 SSZipArchiveDelegate 協定

 留言列表
留言列表
